Generate .Rmd Files from Google Sheets
examling allows you to conveniently write your test
questions in a Google Sheets document and then import them into
.Rmd files for use with the exams package.
Build the Sheet
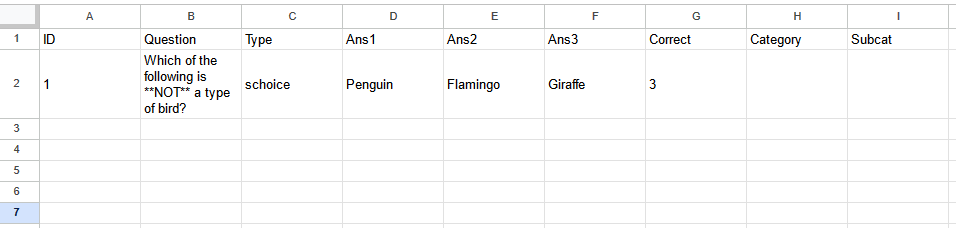
Create a new Google Sheets document, and fill row 1 with the following headers:
IDQuestionTypeImage-
Ans1,Ans2,Ans3…* CorrectCategorySubCat
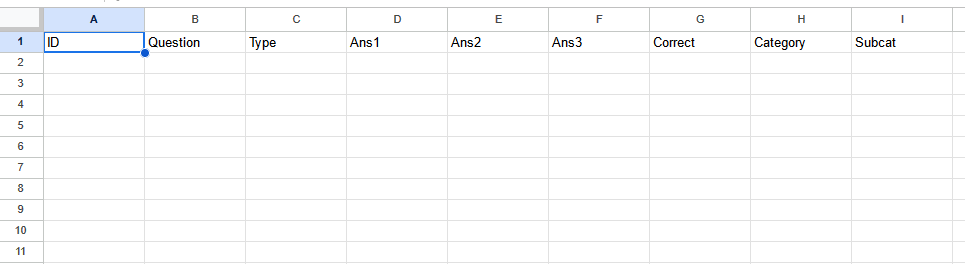
* You may use any number of Ans columns. Simply label
them accordingly.
Before adding any more text, click the light gray box in the top right corner to select the entire spreadsheet.

Then, set the entire Sheet to plain text. To do this, Press the button that says “123” (to the left of the font-selection box) and choose “Plain Text”.
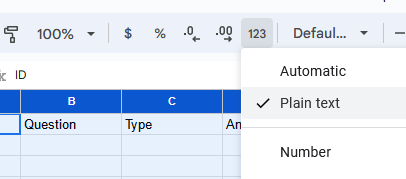
Doing this ensures that any numbers you input will be saved exactly as you write them.
To add a question, start by putting a unique identifier in the
ID column. If multiple rows have the same identifier, they
will be associated with each other (See Design
Dynamic Questions).
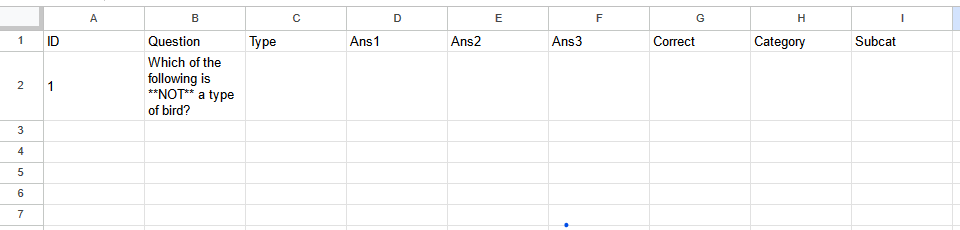
Then, write the main body text of the question in the
Question column. examling uses R-markdown
to format text, so you can, for example, bold text by
typing “**” on each side.
The Type column dictates what kind of answer is expected
for this question. There are three main choices:
- schoice - There is a single correct answer, and all other options are wrong.
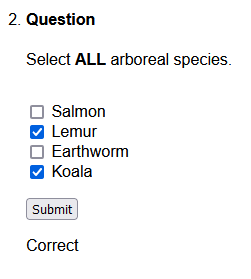
- mchoice - There is any number of correct answers, and the student is graded on how many of these select without choosing incorrect answers.
- string - There are no provided answers and the student is instead given an area to input text. The student’s response must exactly match the correct answer to receive credit.
If the Type is NOT “string”, provide
all of the answers that the student will need to choose from in the
columns starting with Ans, including both correct and
incorrect options. You do not need to use all Ans
columns.
The Correct column is used differently depending on the
Type.
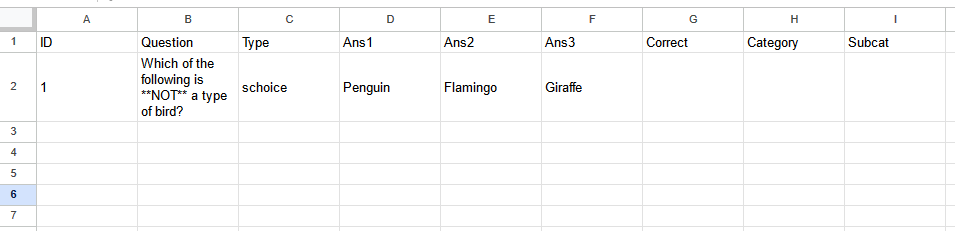
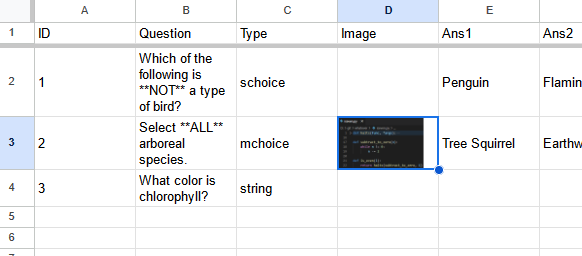
For schoice questions, the Correct
value should be the index corresponding to the correct answer.
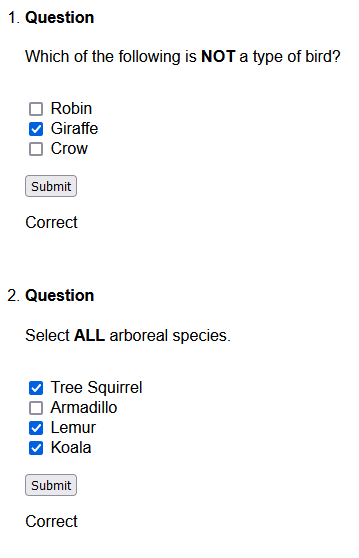
In the example provided, the correct answer is “Giraffe”, which is under
the column Ans3. Therefore, the Correct column
should say “3”.
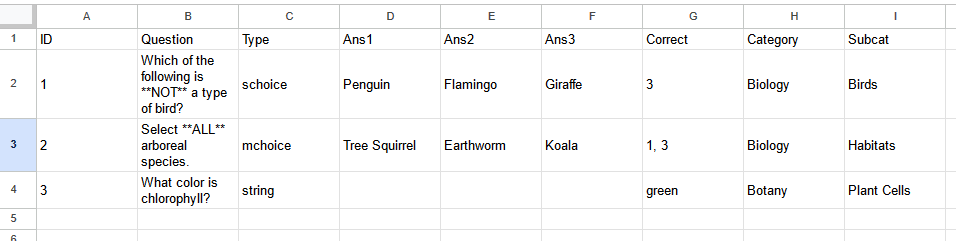
For mchoice questions, the Correct
value should be a comma-separated list of all correct indices. For
example, if the correct answers lie in the columns Ans1 and
Ans3, this cell should say “1, 3”.
For string questions, the Correct value
should be the exact correct answer. For example, if the question is
“What color is chlorophyll?”, this cell should say “green”.
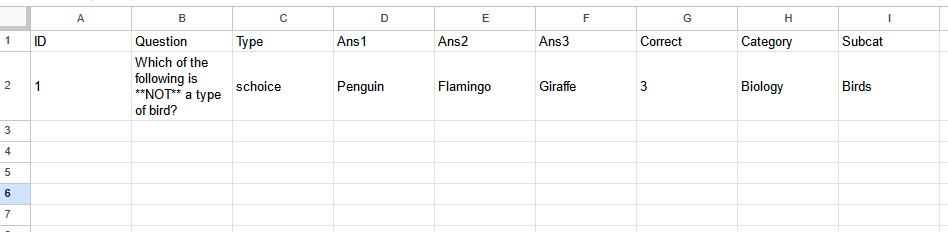
The Category and SubCat columns are used
for organization and naming files. Their values should be short,
informative names that will help you keep track of topics. Questions
with the same Category values should appear on the same
tests.
Now, add another row for every question you want to generate a
.Rmd file for.
Give your Sheet a title and, optionally, click “View” -> “Freeze” -> “1 row” to keep the header row visible while scrolling.

Extra Columns
While the previous section demonstrates which columns are required to import questions, they are not the only columns that are allowed.
A few columns can be added that provide additional functionality, like the “Image” and “NCorrect” columns.
Any extra columns that do not match one of the names below will be added to the question’s metadata. This makes it easy to record searchable tags, warnings, or credits.
As of 23 May, 2023, these extra metadata tags appear in the YAML
header for each respective .Rmd file. Later, these will be added to the
exams-specific “Meta-information” footer.
Image
To easily add images to your questions using Google Sheets, start by inserting a column titled “Image”.
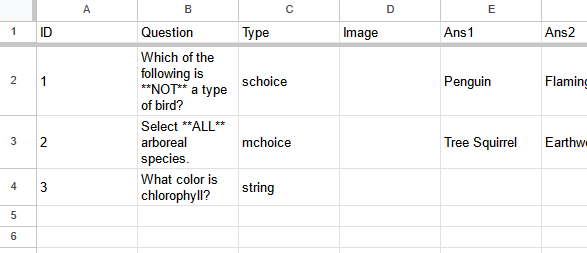
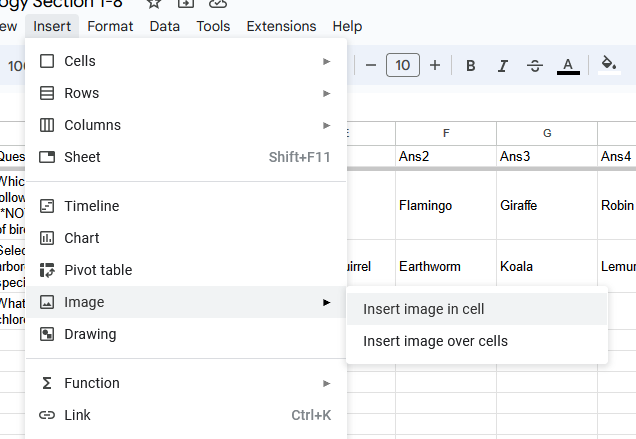
Select the cell in that column corresponding to the question you want to add an image to. Then, in the top menu, select “Insert” > “Image” > “Insert image in cell”.
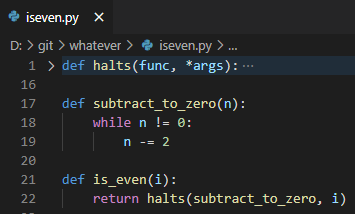
Then, either upload or provide the link to the image you want to attach, as per Google’s instructions. (For this example, I’ll just use a screenshot of a function I wrote because I’m too lazy to get a good image of a tree.)
If the image is large, it should have shrunk down to fit the cell. This does not affect how it will appear in your exams.
Repeat for each image.
Once you’ve done this, you should be all set to import the questions
using google2rmd() as normal. The images will be downloaded
and saved in an img folder in the same directory as the
questions and will appear on the correct questions.
(In case you’re curious what the image I attached was, it’s just a super simple formula for determining whether a number is even or odd.)
NChoices
For some schoice and mchoice questions, you may have more options to choose from than you would want to appear on the test. For example, if the question is “Which letter is a vowel?”, the choices could be any of the 26 letters of the English alphabet.
In this case, you can add a column titled “NChoices” and use it to specify how many options should be given on tests. It is guaranteed that at least one of the options is the correct answer.

NCorrect
In a similar vein to the NChoices column is the “NCorrect” column, which specifies how many of the options are correct answers. This column can only be used for mchoice questions.
If the value in this column is greater than the total number of choices, it is lowered to that number of choices. For example, if you set NCorrect to 5 for a question with only 4 possible options, the NCorrect value will be set to 4.
If there is no value provided in this column, the mchoice question will choose a random number between 1 and the total number of options.

Design Dynamic Questions
It can be useful to group multiple versions of the same question into one .Rmd file. This can be easily done in the spreadsheet by giving multiple rows the same value in the “ID” column. Here, we create two questions that are both related to the feather colors of bird species.

After calling google2rmd on this spreadsheet, we
generate a single .Rmd file that contains
both of these versions.
When we run, exams2js on this file, it defaults to the
first variation.

If we want to choose which variation we draw from, we need to use the
R/exams function expar.
exams2js(expar("Bird1.Rmd", qvariation = 2))
However, a lot of information in the spreadsheet is redundant. The “Type”, “Category”, and “Subcat” columns, as well as all three “Ans#” columns, are the same between the two variations.
examling will copy any data it needs from earlier
variations of the questions automatically, so we can safely omit the
repeated data from the second variation of the question.

Import into R
Start by loading in the examling package.
library(examling)Use setwd to place your working
directory where you want the folder of .Rmd files to be saved.
Then navigate back to the spreadsheet containing your questions and copy the entire URL (“https://docs.google.com/spreadsheets/d/…”).
Paste the URL into the first argument url of the
examling function google2rmd. Set the second argument
output_dir to the folder you want to store the resulting
.Rmd files in.
google2rmd(
"<URL>",
"Example"
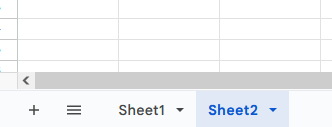
)If you are loading questions from a sheet of the spreadsheet
other than the first, you’ll need to specify the index or name
of that sheet in google2rmd. For example, if you’re on
“Sheet2”, include sheet = 2 or
sheet = "Sheet2".
google2rmd(
"<URL>",
"Example",
sheet = 2
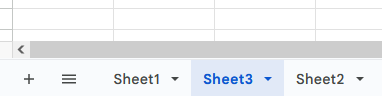
)NOTE: The index depends on the order of the sheets, not
their names. In the following screenshot, “Sheet3” has been placed
before “Sheet2”. Here, “Sheet3” would have index 2, and
“Sheet2” would have index 3.
Once you run the function, you should be asked to grant access to your Google account. You should select “Send me to the browser for a new auth process.” in the R terminal. Even if “pre-authorized accounts” are available, they aren’t very reliable, so stick to logging in each time you start a fresh R session.
When sent to the browser, select the account that your spreadsheet is stored under and sign in. You should be presented with the following screen.
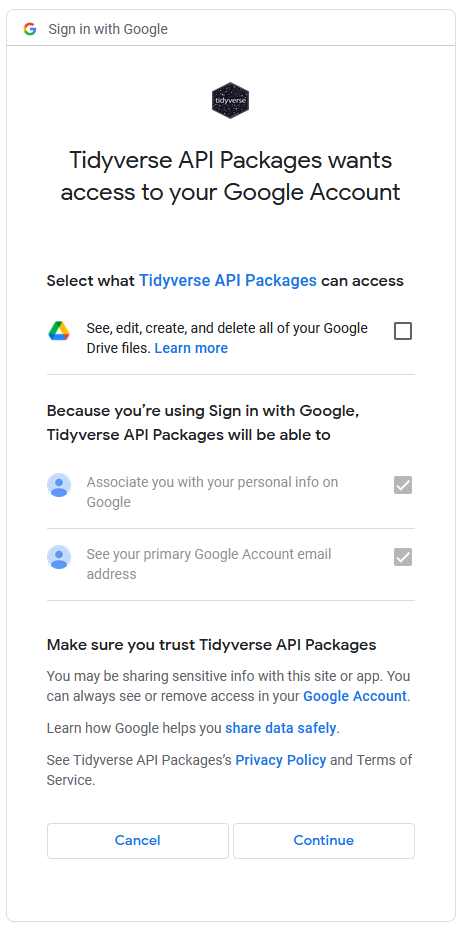
Check the box labeled “See, edit, create, and delete all of your Google Drive files.” and press the “Continue” button.
And the process is done! Assuming there are no issues with your
spreadsheet, R will load the proper Google Sheets document and save all
of the .Rmd files under the correct folder. examling also
creates a log file that details the import process, which can be found
in the logs/log folder with the name
{DATE}_{TIME}.log.
If there is an error, you’ll also see a file called
{DATE}_{TIME}.msg in this folder.